Java programmer expert

We present a series of tutorials covering the installation of three Java IDE development environments. In this episode, we’ll show you step-by-step how to install Java and NetBeans on a Windows machine.

V článku sa dozvieš:
See also the installation guide:
Apache NetBeans is a popular Java IDE (integrated development environment) with a large user base of Java developers, including professional developers for enterprise, embedded systems, web, mobile, desktop applications, and more. It is supported by Oracle as the official IDE for Java 8 and later versions. This development platform includes plug-ins for all major frameworks such as JavaServer Faces (JSF), Java Persistence API (JPA) and Enterprise JavaBeans (EJB). Its free and open-source nature makes it particularly interesting for IT students.
Among other advantages, we can mention the friendly user interface with easy navigation, GUI Builder, has strong support for Java Enterprise Edition (Java EE) development, seamless integration with other popular Java development tools such as Apache Maven, Git, etc.
However, it is important to note that the choice of IDE is subjective and depends on personal preferences and project requirements. Some developers may prefer Eclipse or IntelliJ IDEA over NetBeans out of personal preference. It’s always a good idea to try out different IDEs and see which one suits you best.
Before you get started with this Java Guide, it’s important to remember that Java is always installed before NetBeans, because it depends on it and will save you unnecessary trouble later.
Step 1: Download the latest version of Java from the official website.
There are Windows, Linux and MacOS versions available.
Select the Windows version.
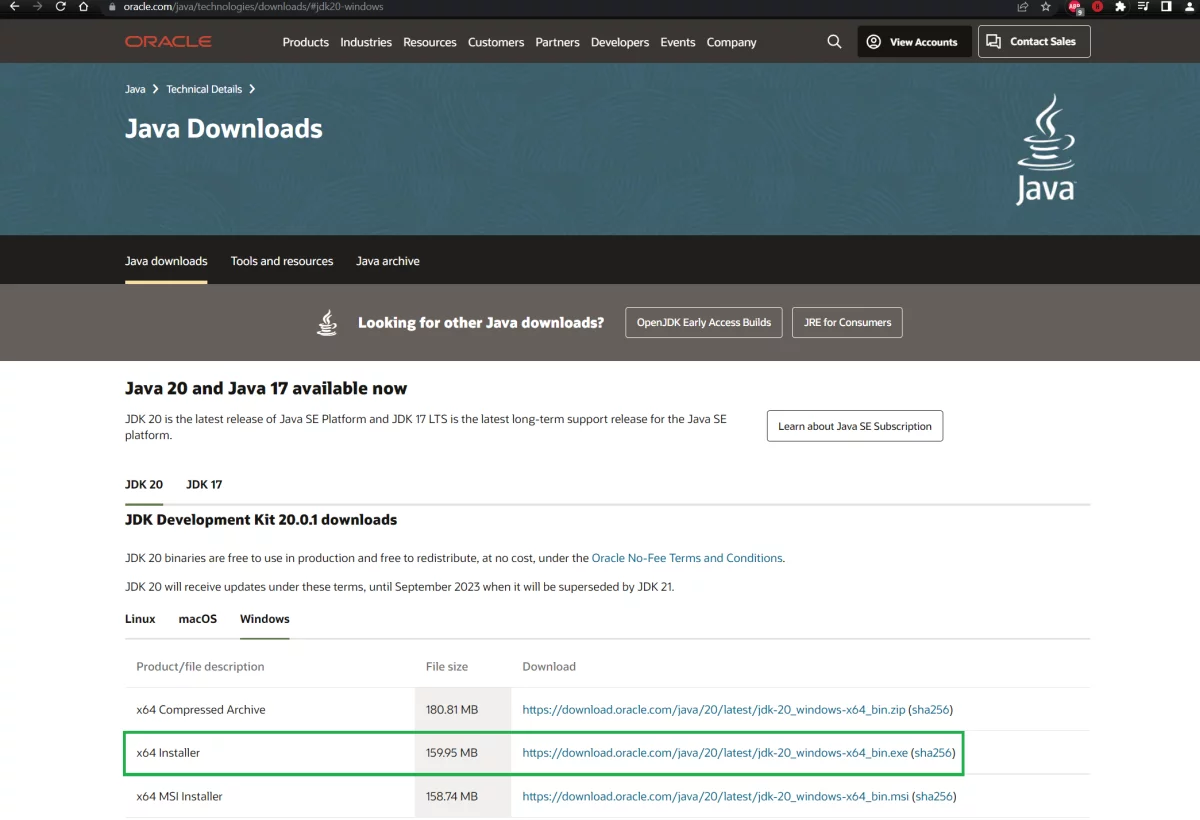
Tip: When experimenting with Java, we recommend that you always use the latest version of the Java JDK, as it contains the most features and bug fixes. Enterprises prefer the Java LTS version.
Step 2: Once the download is complete, double-click on the downloaded file to start the installation.
Step 3: Click Next and select the path where Java will be installed (I recommend to keep the default path), then click Next to start the installation.
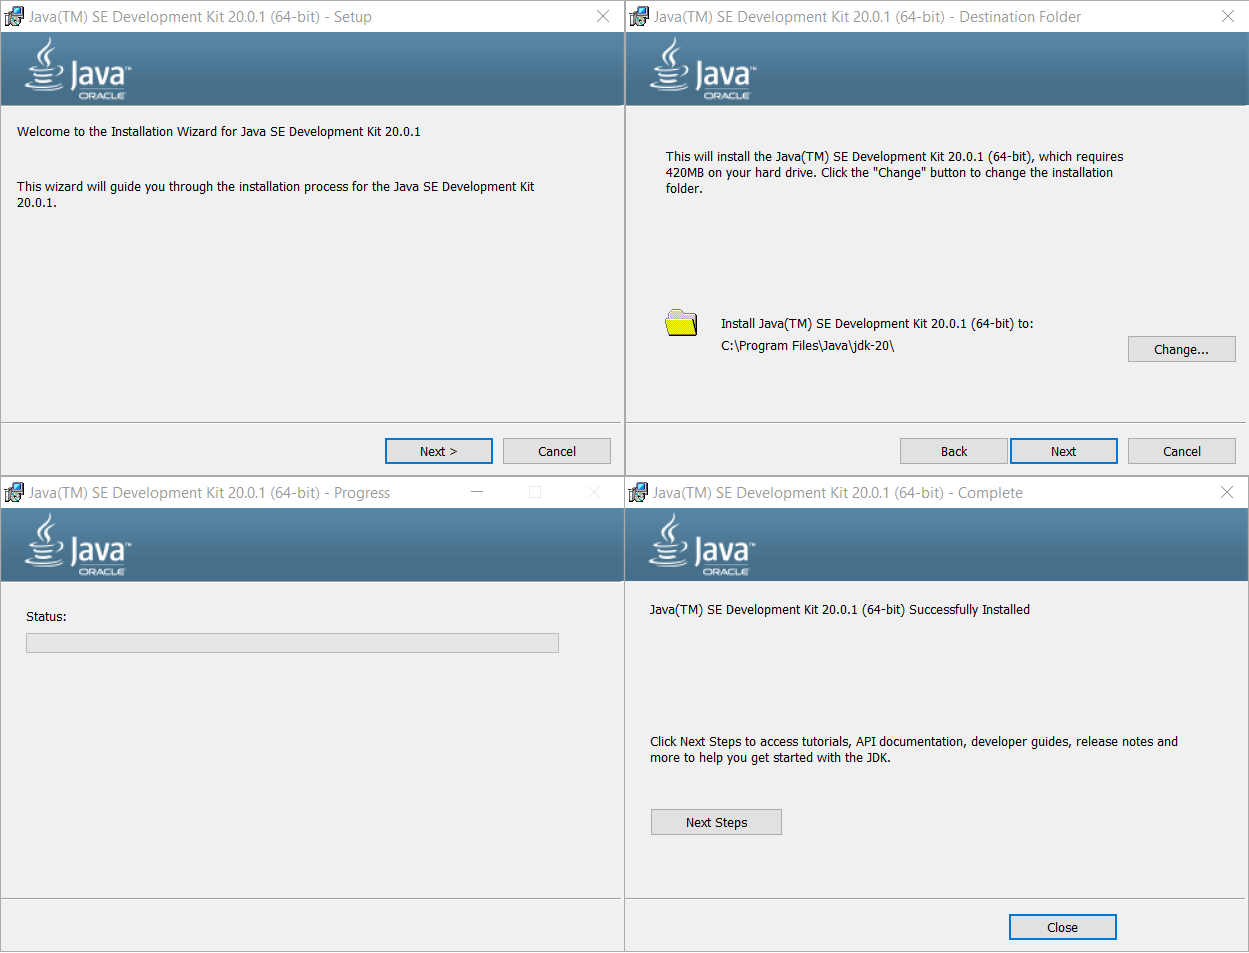
Step 4: Once the installation is complete, you can still view the documentation on the Java website by clicking the Next Steps button.
Click Close to complete the installation process.
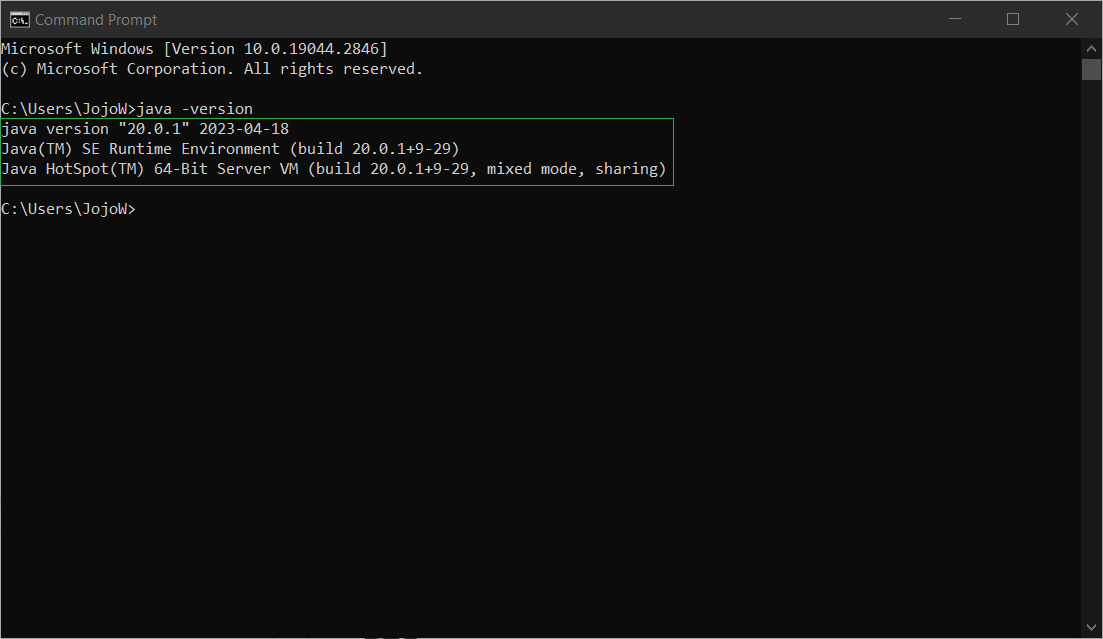
Step 5: Check that Java is installed correctly by opening a command prompt (cmd command) and typing java-version. If Java is installed correctly, the version number should be displayed.
Now that we have our preferred version of Java installed, we will install Apache NetBeans.
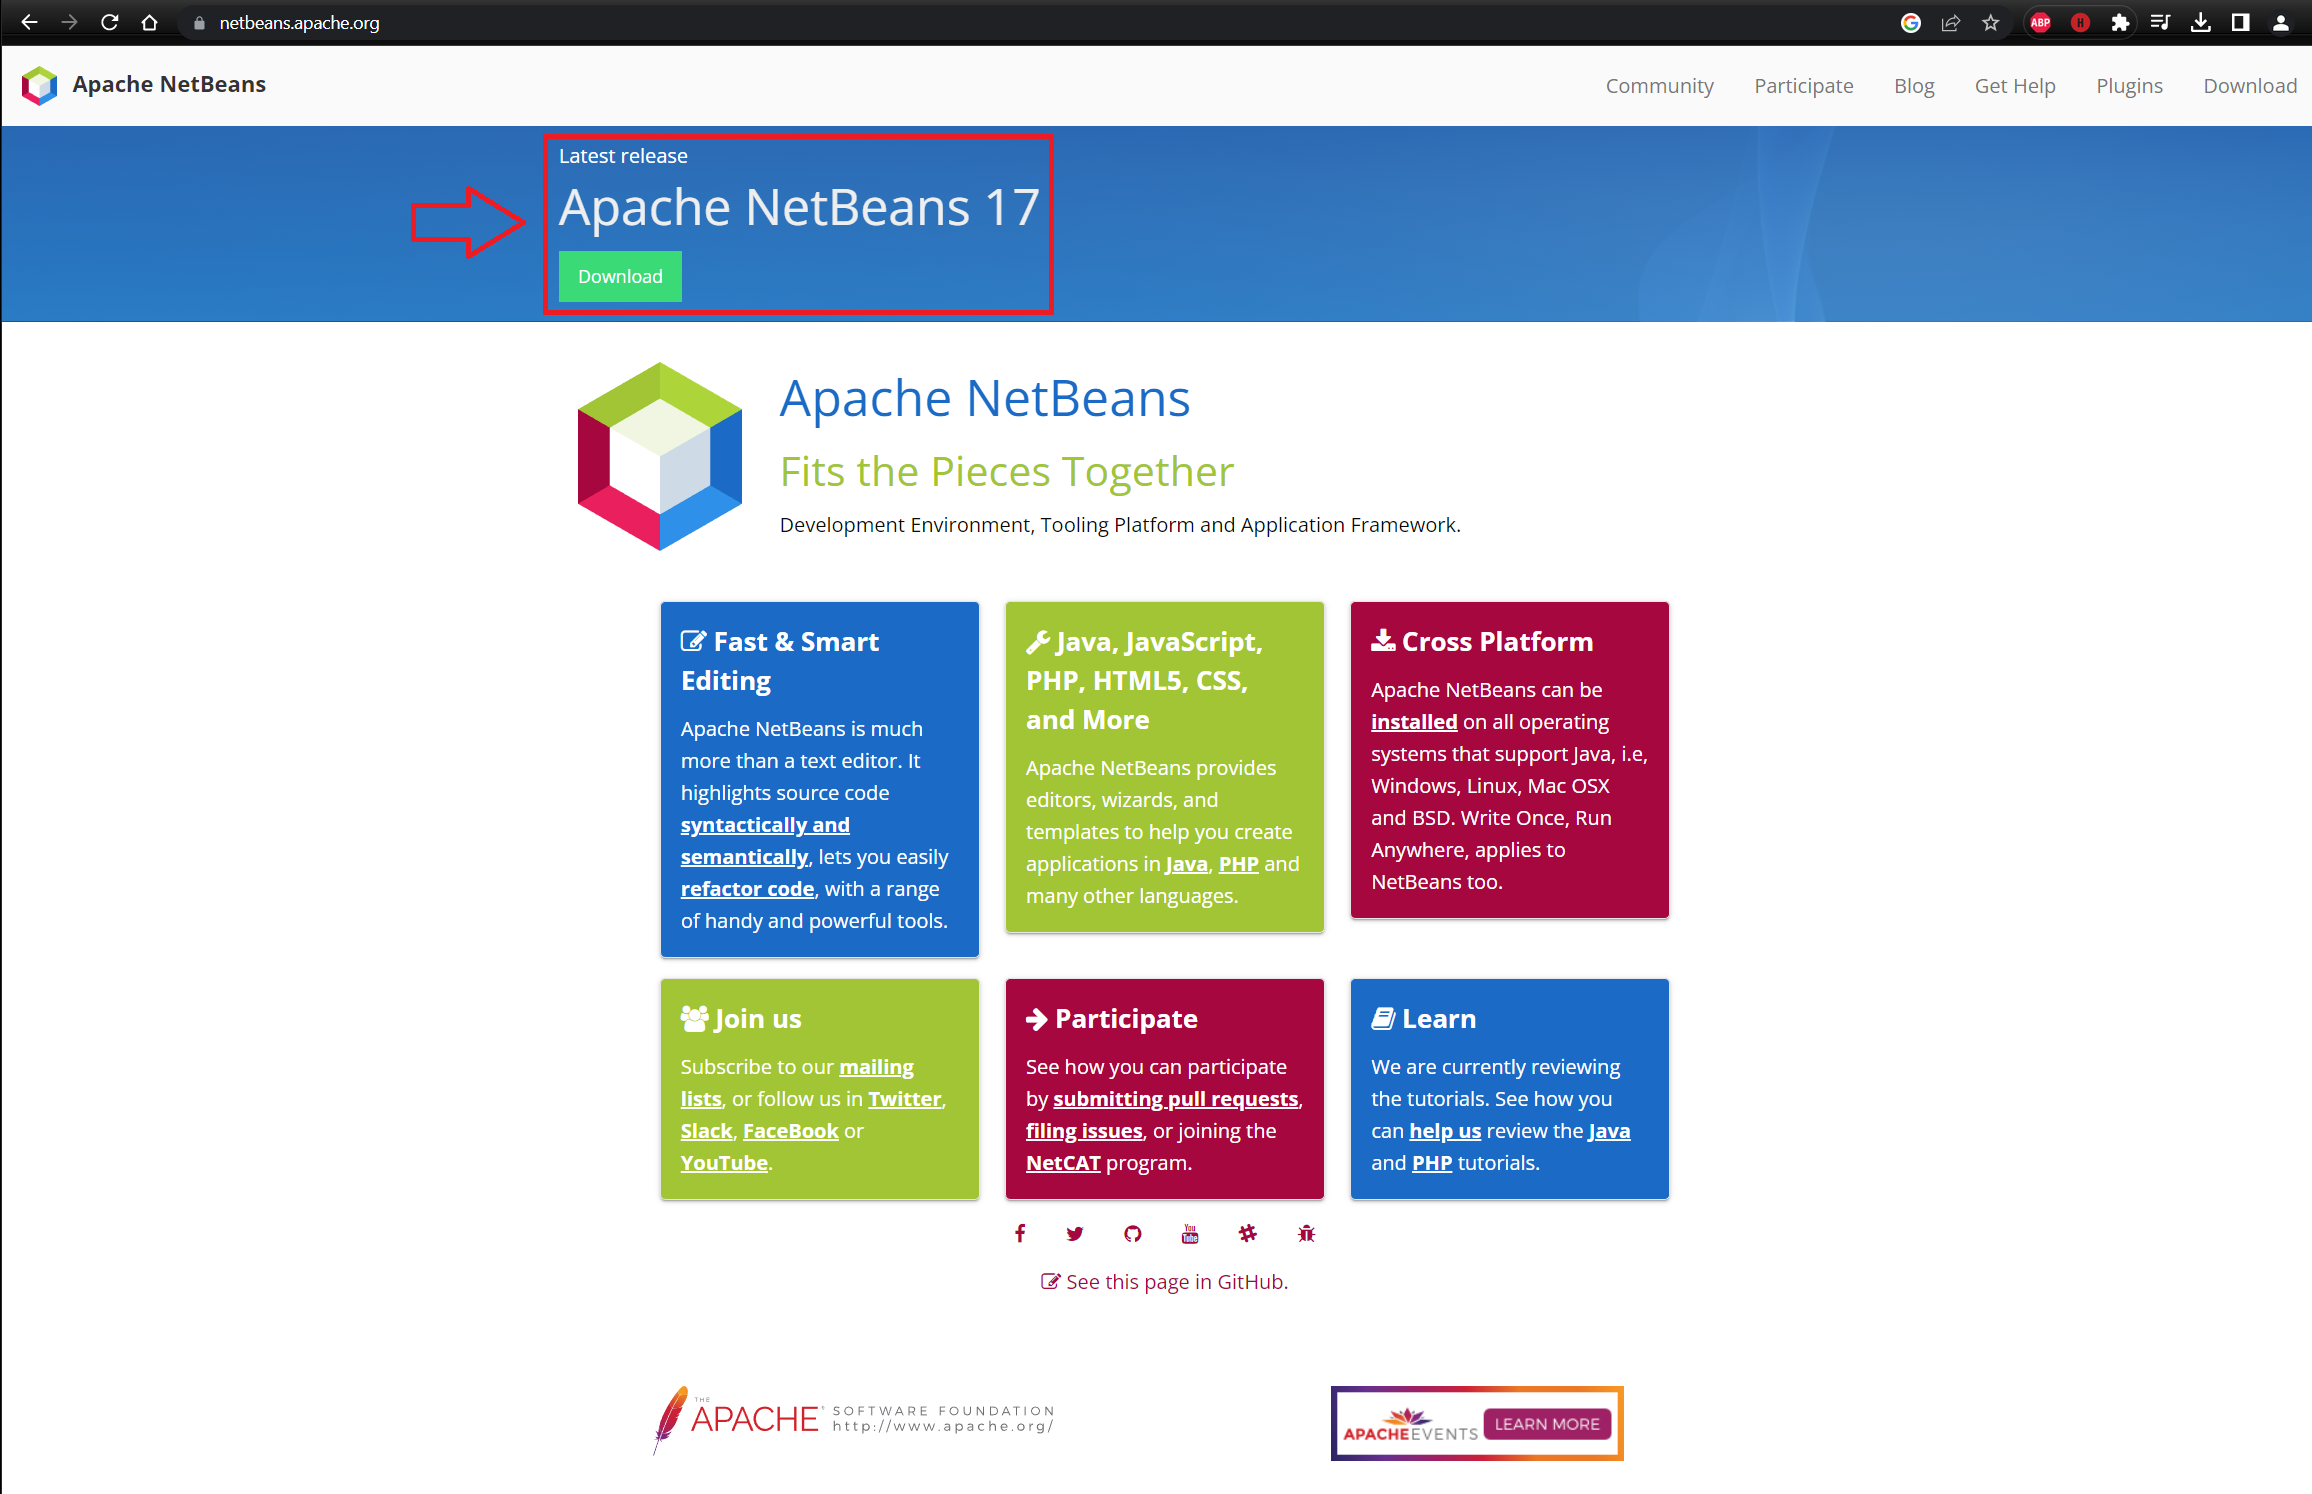
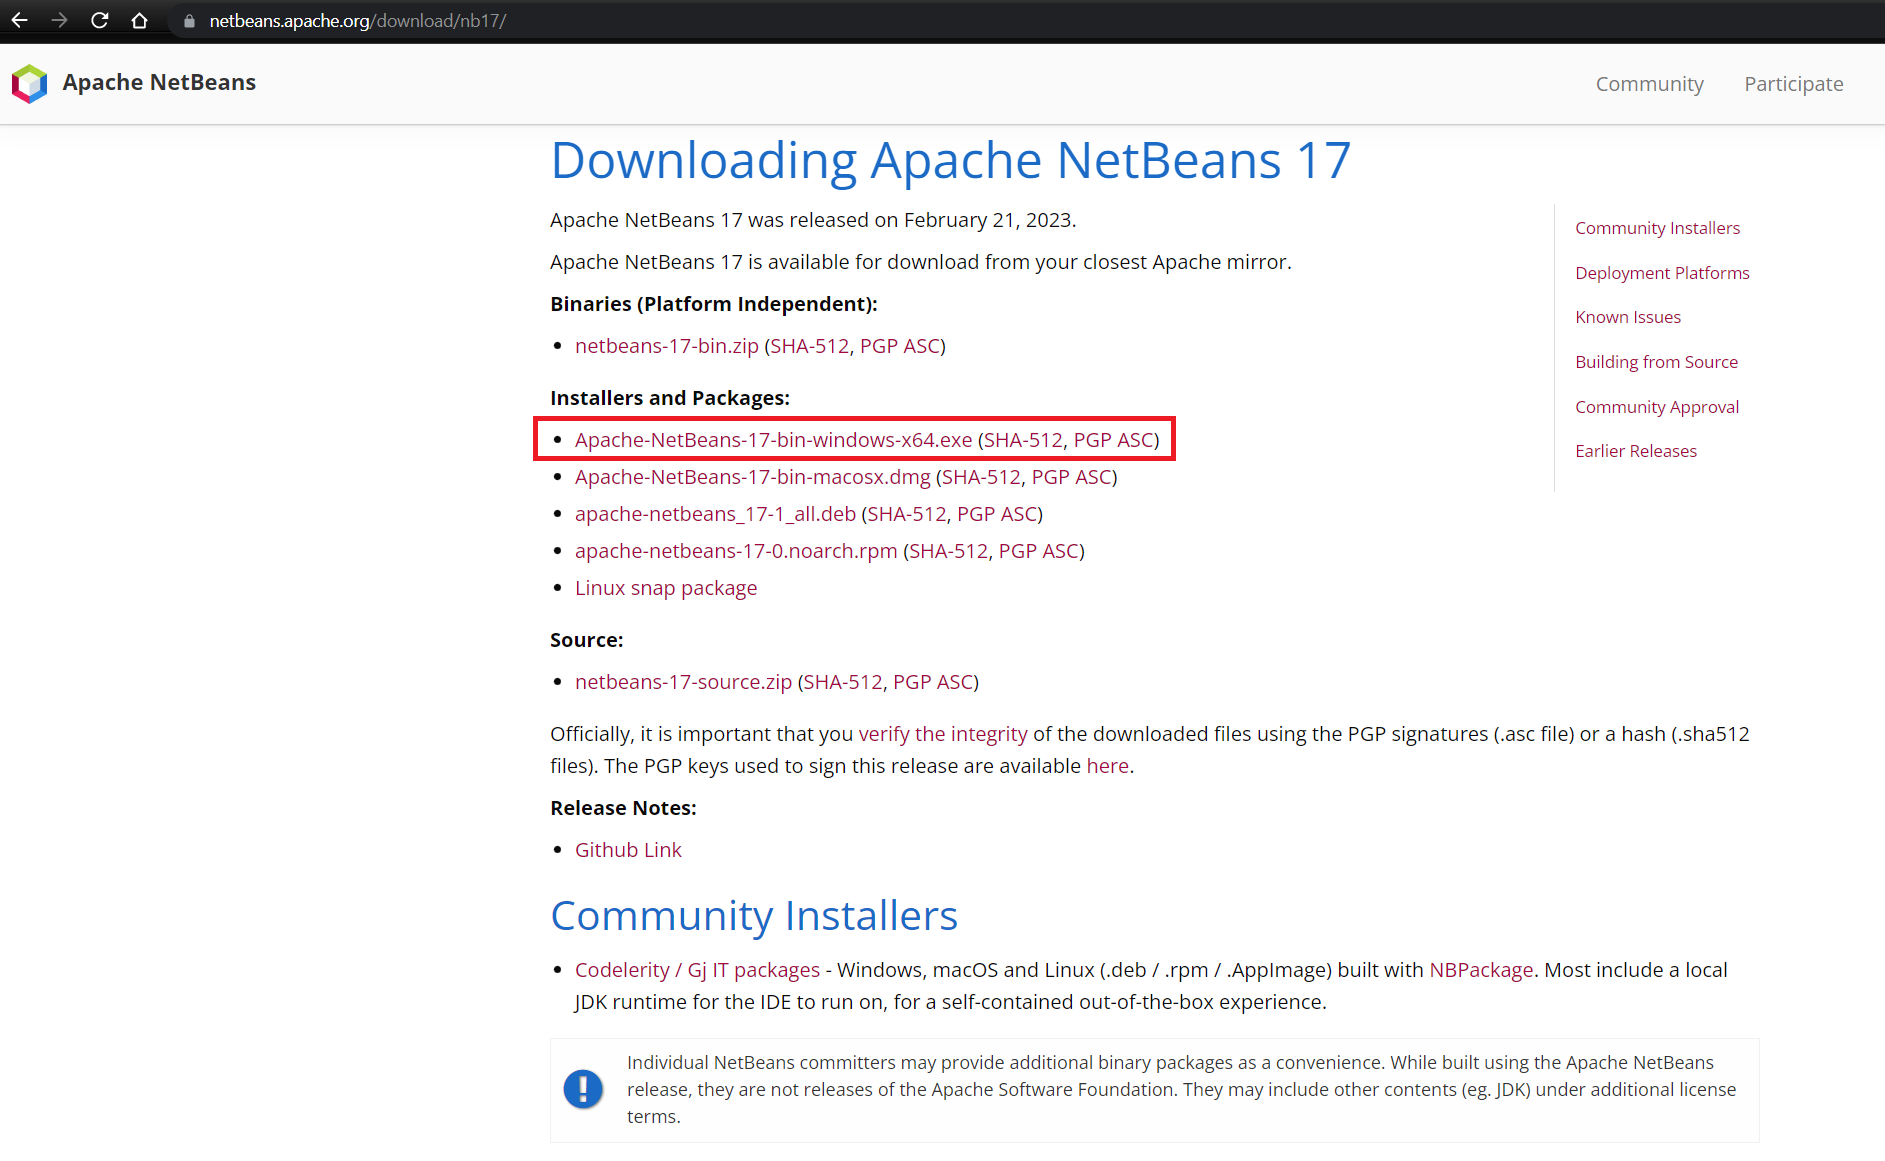
Step 1: Go to the official NetBeans website and click on the Download button on the home page.
Step 2: Downloading NetBeans is easy as it will automatically offer the latest version of the program and the nearest download location. Select the version for Windows or another operating system and click on it.
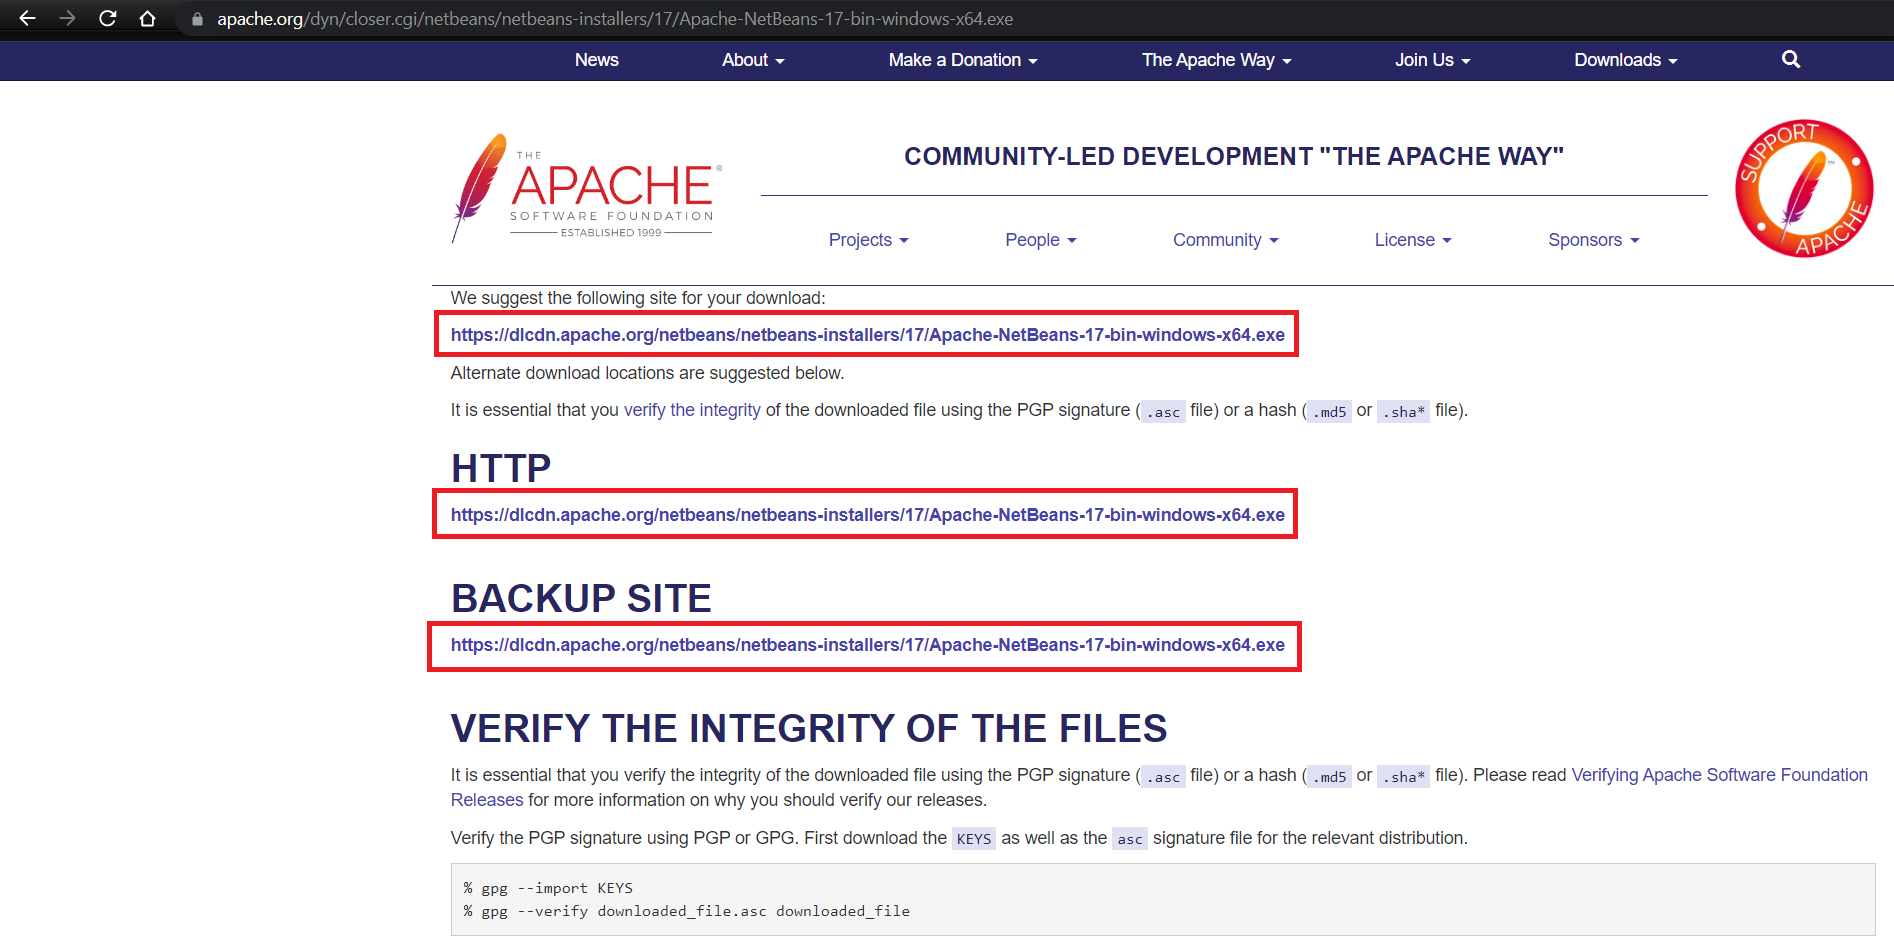
Step 3: On the next screen, confirm your selection by clicking one of the links to start the download.
Step 4: When the download is complete, double-click on the installation file to launch the installation wizard.
Step 5: The first screen is the welcome screen and after clicking on the Customize button you can choose which components you want to install. Usually all components are selected by default, but you can deselect any you don’t need.
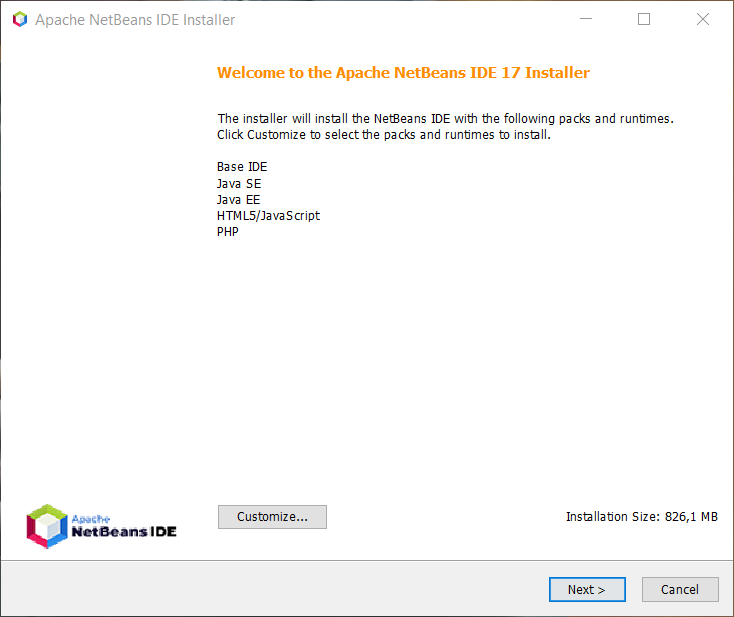
Tip: We recommend that you select the first three for Java development. If you plan to develop web applications, select HTML5/JavaScript as well. If you don’t know which language you will be developing in, select all.
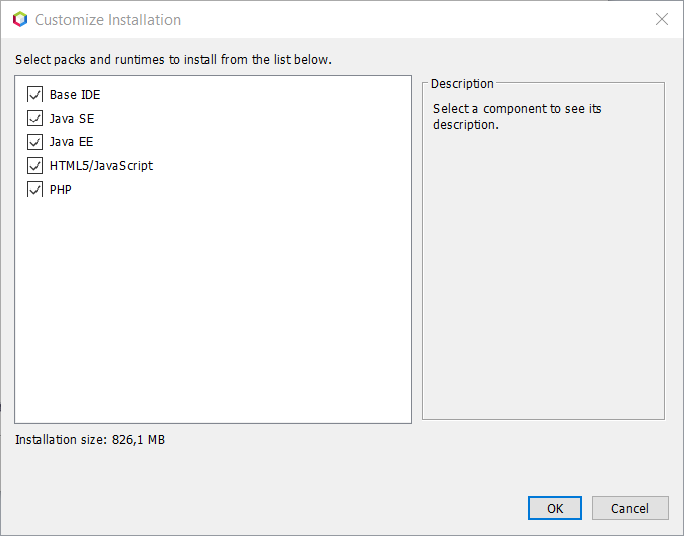
Once you have selected your components, click Next to proceed to the next screen.
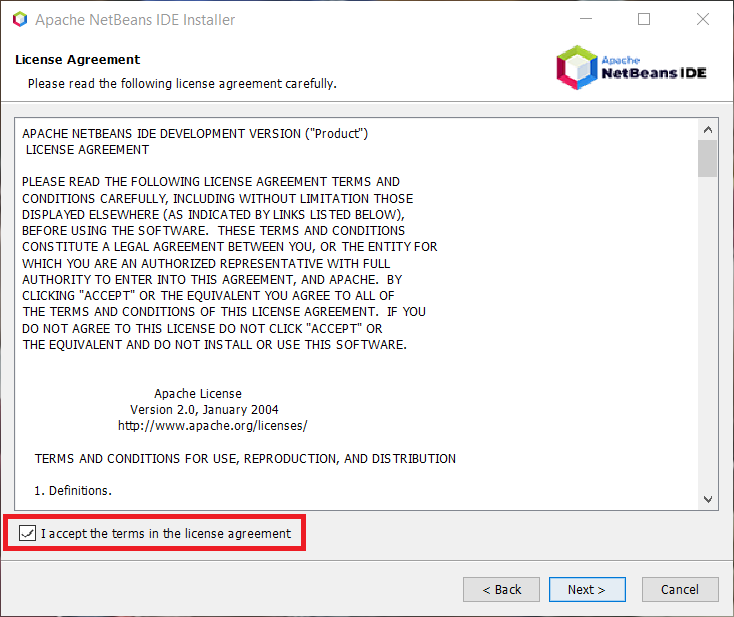
Step 6: On the next screen, you will need to accept the licence terms before clicking Next.
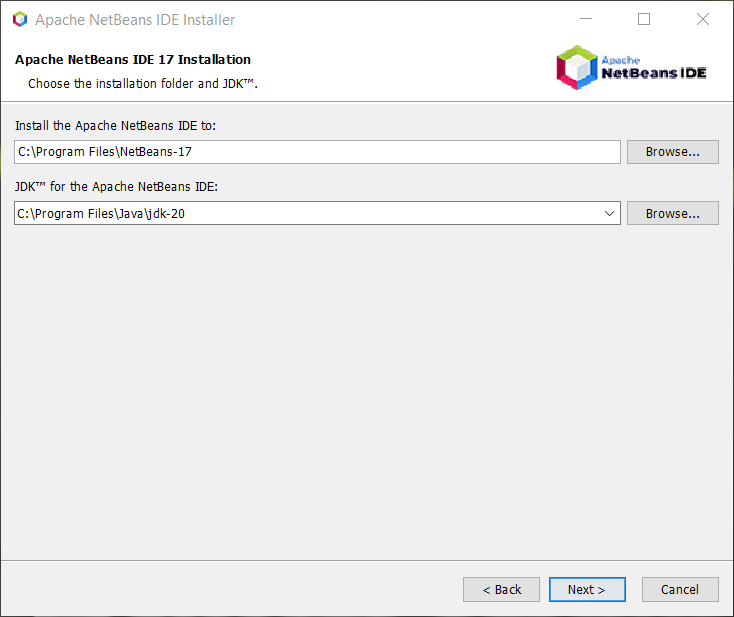
Step 7: In the following wizard window, the installer will ask you to select the folder where NetBeans will be installed. The default folder is usually fine, but you can choose a different folder (depending on your preferences). Also check the path to your JDK, if you have installed it according to our instructions, the default path will be filled in correctly. Click Next.
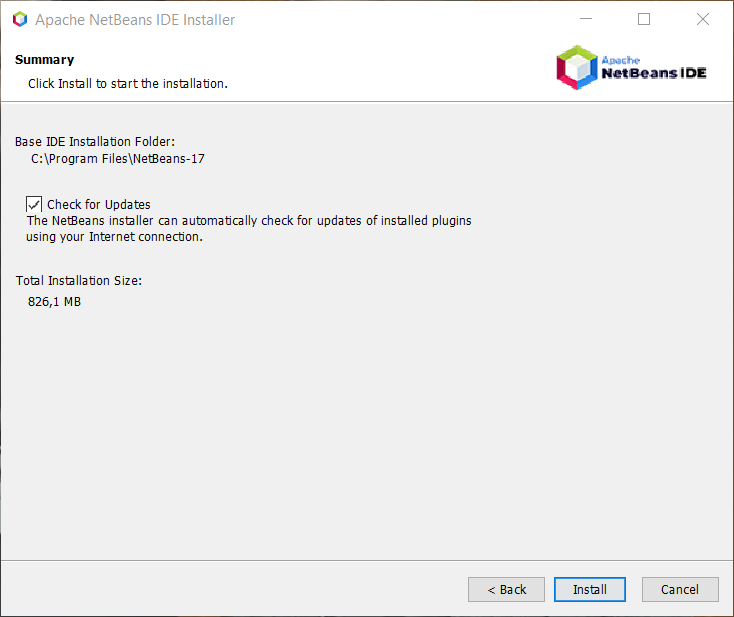
Step 8: Here’s the last screen before the actual installation, where you have the option to accept the updates. Click Install to start the installation.
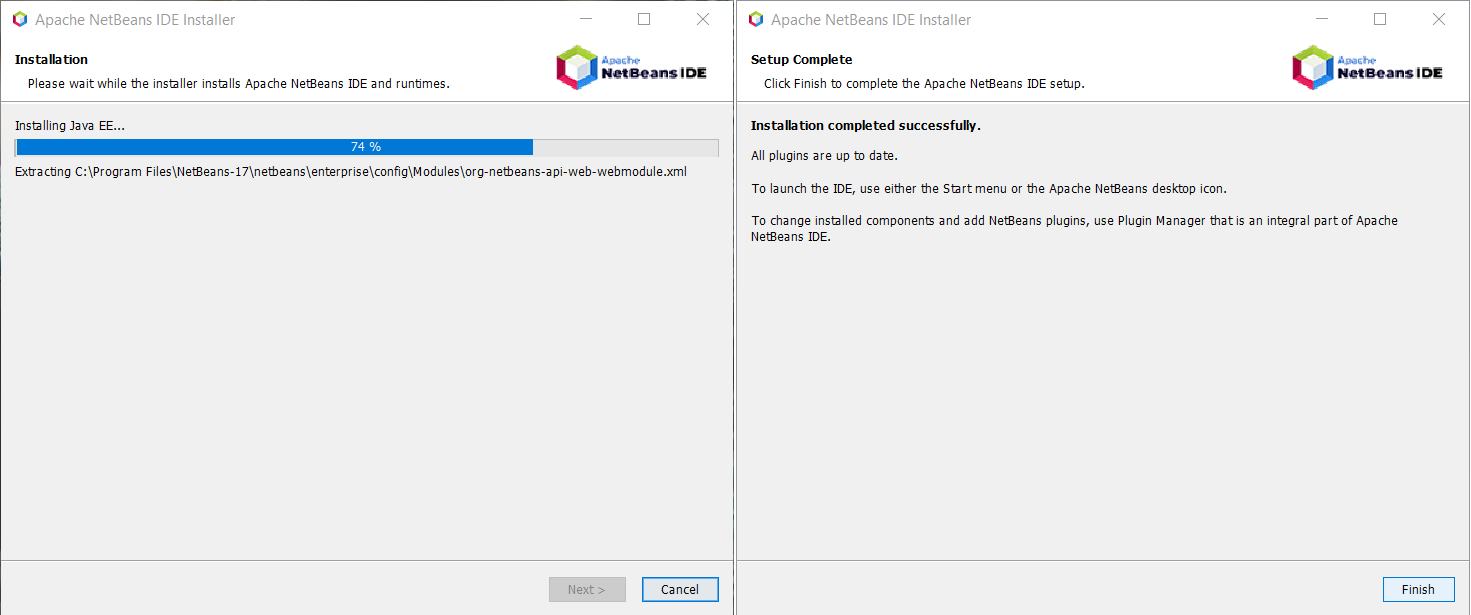
Step 9: Click Finish to complete the installation process.
Step 10: You can launch NetBeans via the newly created desktop icon.
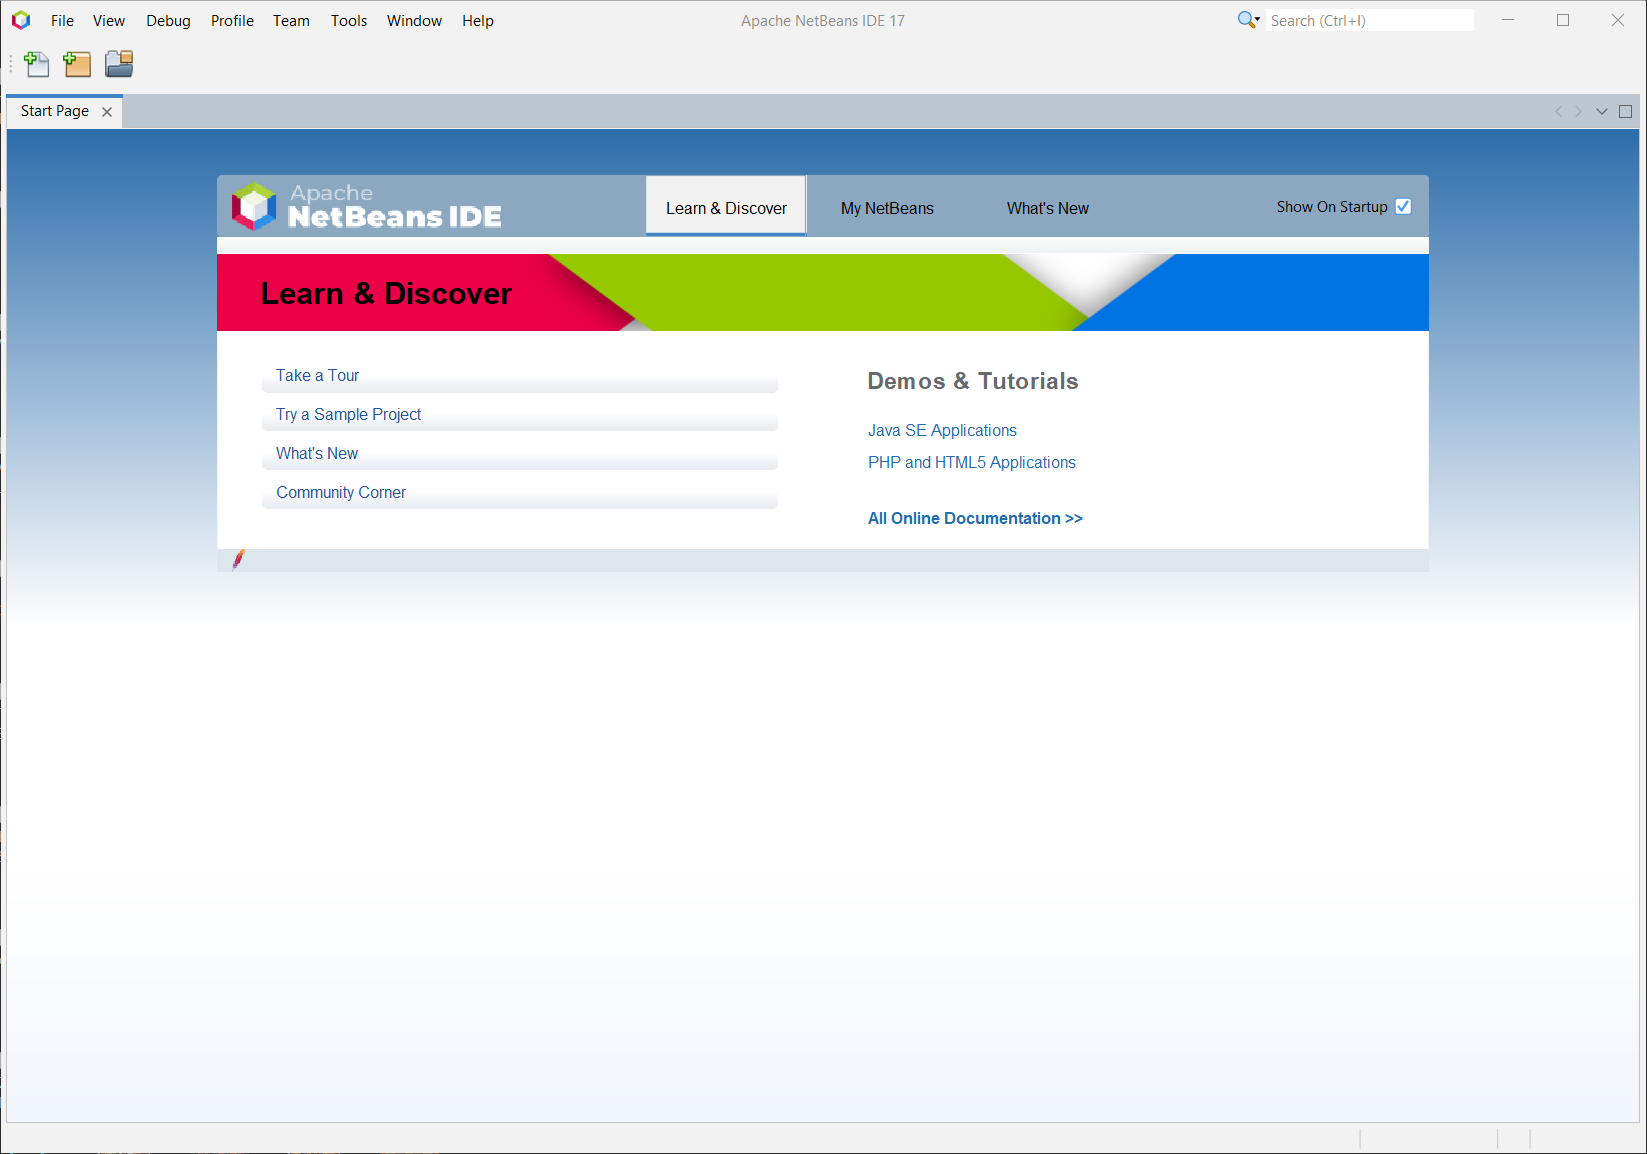
Congratulations! You have successfully installed Java and Apache NetBeans on your Windows machine. You’re now ready to start programming with Java.

Related articles