Java programmer expert

The third in a series of tutorials on installing the Java IDE. In the first two we covered installing Java and the Apache Netbeans IDE and installing Java and the Eclipse IDE. Today we will show you step by step how to install Java and IntelliJ IDEA on a Windows machine.

V článku sa dozvieš:
IntelliJ IDEA is an integrated development environment (IDE) developed by JetBrains and written in Java for software development projects. It is known for its advanced features and tools that make a developer’s life easier. IntelliJ comes with a robust set of tools and plugins (more than 750 already), including frameworks such as Spring and Hibernate.
Users praise the advanced code editor with smart code completion, real-time code analysis, and refactoring capabilities. It offers improved support for JVM-based languages such as Java, Kotlin, Groovy and Scala.
Other benefits include an intuitive user interface and integration with popular version control systems such as Git, Mercurial and Subversion, allowing developers to quickly make changes and commit them to the repository.
However, it is important to note that the choice of IDE is subjective and depends on personal preferences and project requirements. Some developers may prefer Eclipse or Apache NetBeans to IntelliJ IDEA for a variety of reasons. It’s always a good idea to try out different IDEs and see which one suits you best.
Before we start, it is important to mention that Java is always installed before IntelliJ IDEA, as it depends on it and will save you unnecessary problems later.
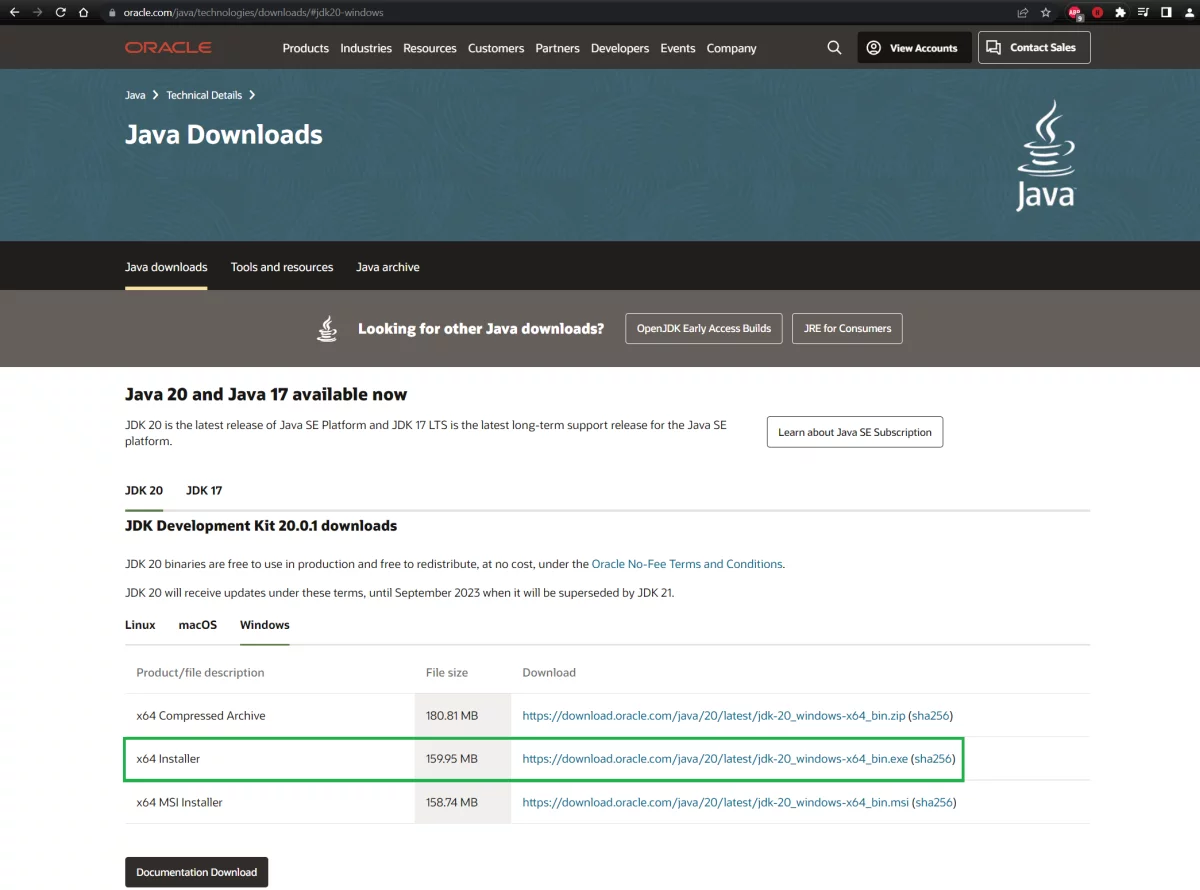
Step 1: Download the latest version of Java from the official website:
There are Windows, Linux and MacOS versions available.
Select the Windows version.
Step 2: Once the download is complete, double-click on the downloaded file to start the installation.
Step 3: Click Next and select the path where Java will be installed (we recommend leaving the default path), click Next again to start the installation.
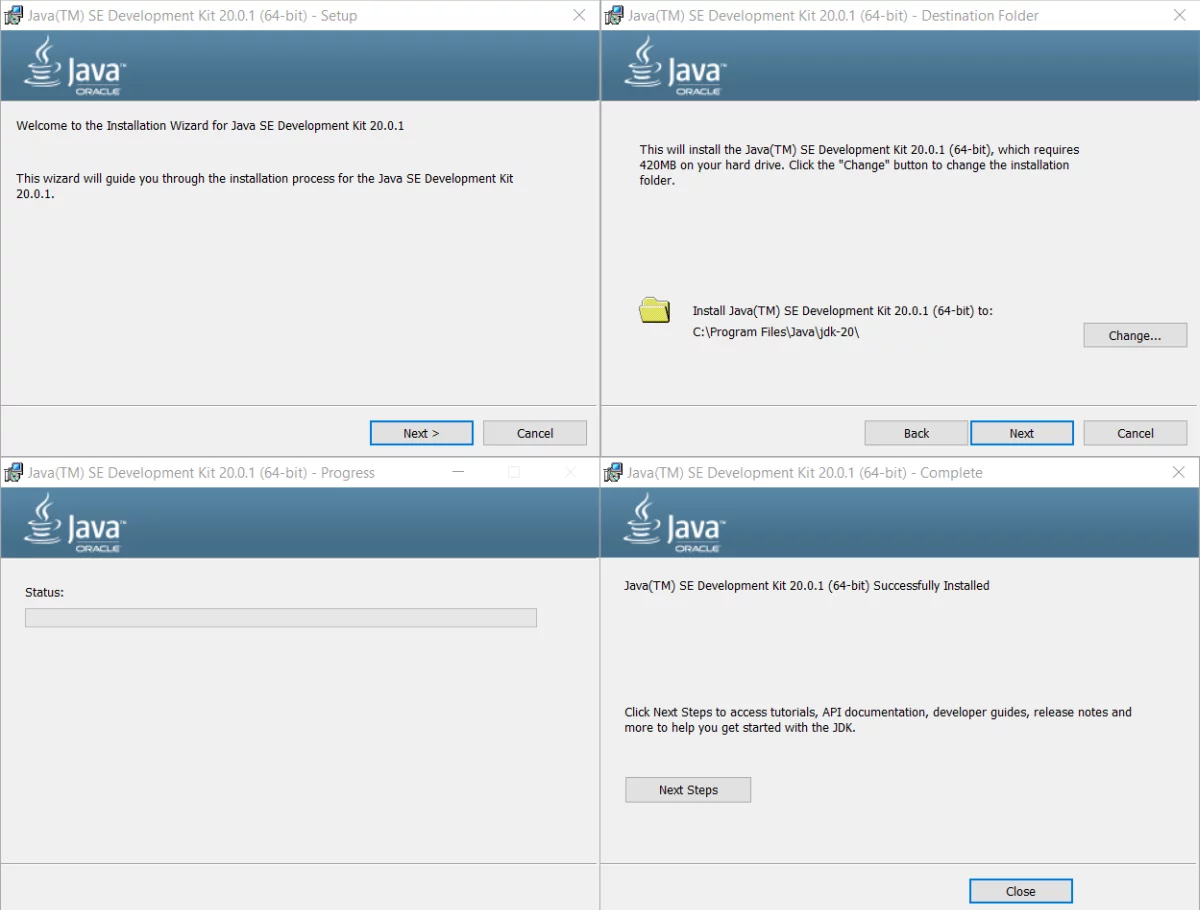
Step 4: Once the installation is complete, you can still view the documentation on the Oracle website by clicking the Next Steps button.
Click Close to complete the installation.
Step 5: Verify that Java is correctly installed by opening a command prompt (cmd command) and entering the command java-version. If Java is installed correctly, the version number should be displayed.
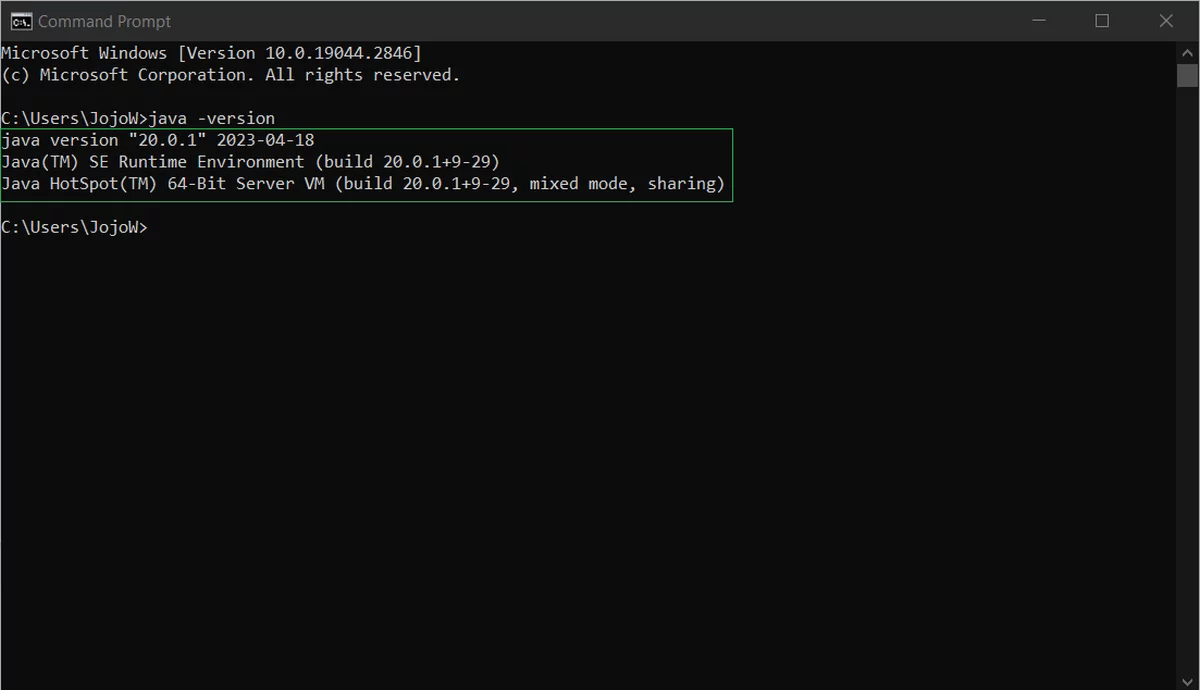
Now that we have our preferred version of Java installed, we will install IntelliJ IDEA.
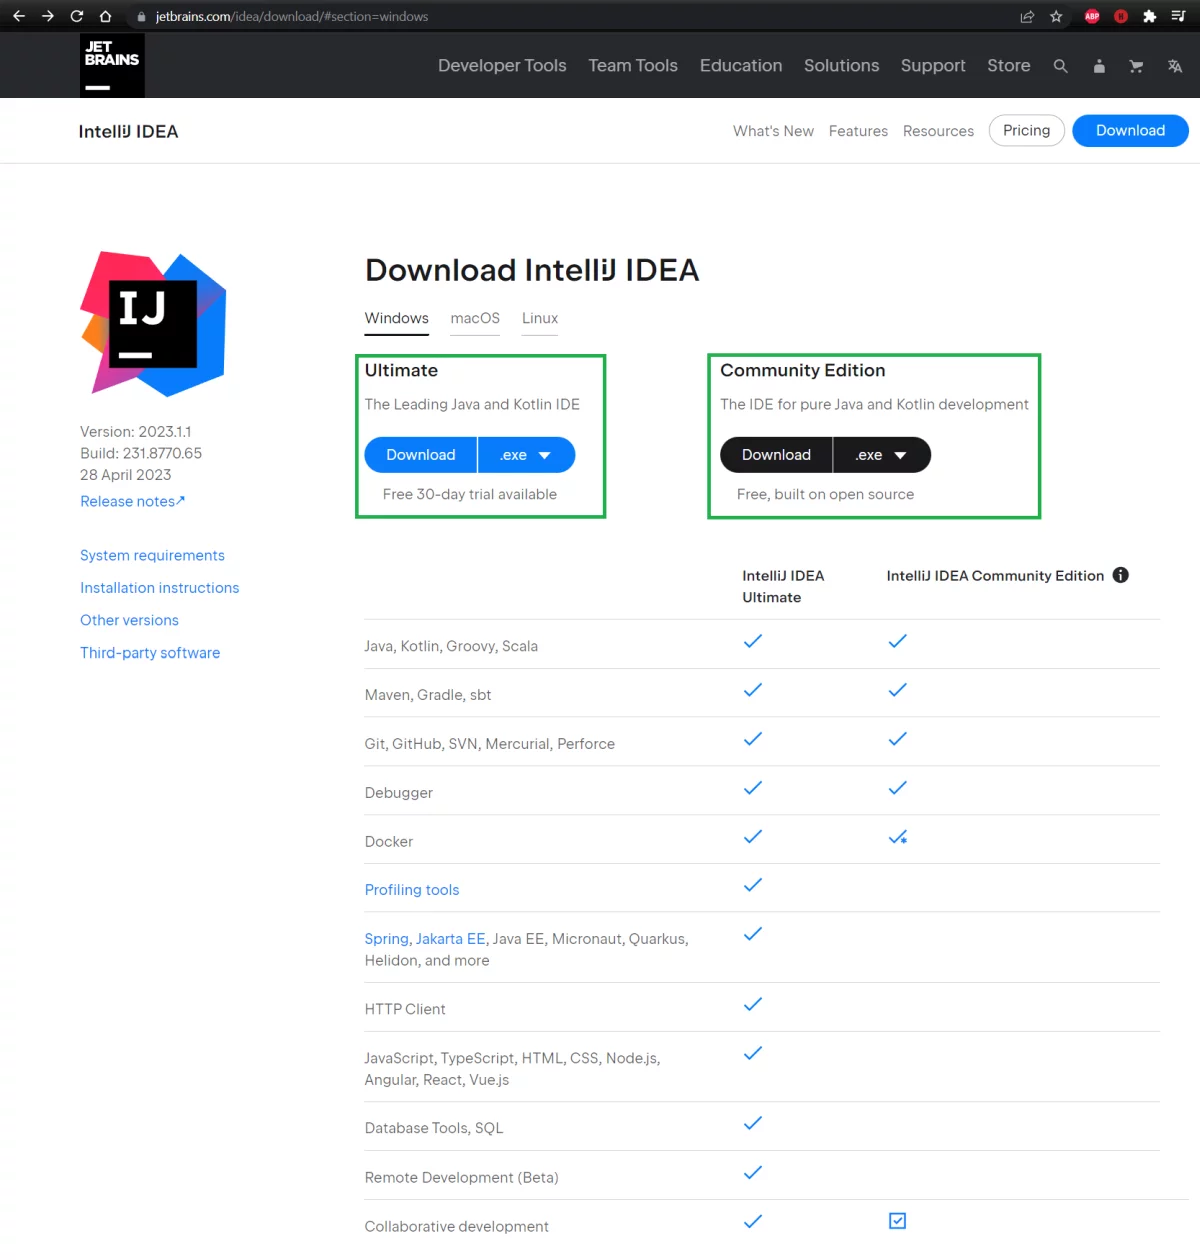
Step 1: Go to the official website, download IntelliJ IDEA and click on the download button.

Step 2: IntelliJ IDEA is offered in versions for Windows, MacOS, Linux and even ARM64. There are two versions available: the paid IntelliJ Ultimate (with a 30-day free trial) and the open source IntelliJ Community Edition. Choose one, click the appropriate download button and download the installation file.
Step 3: Once the Java IntelliJ download is complete, double-click on the installation file to launch the installation wizard.
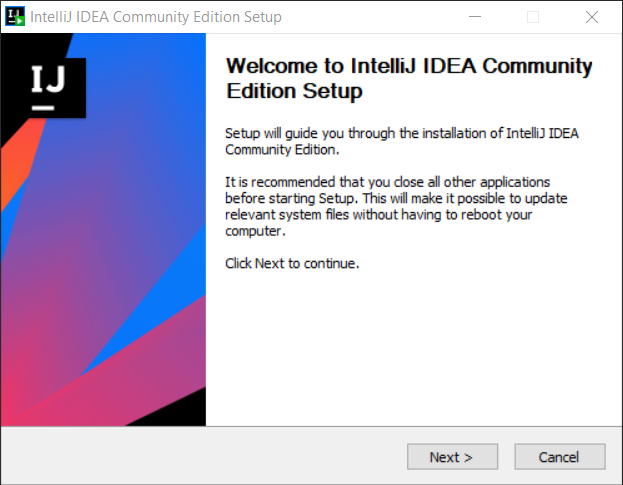
Step 4: The first screen is the introduction screen, so click Next to continue.
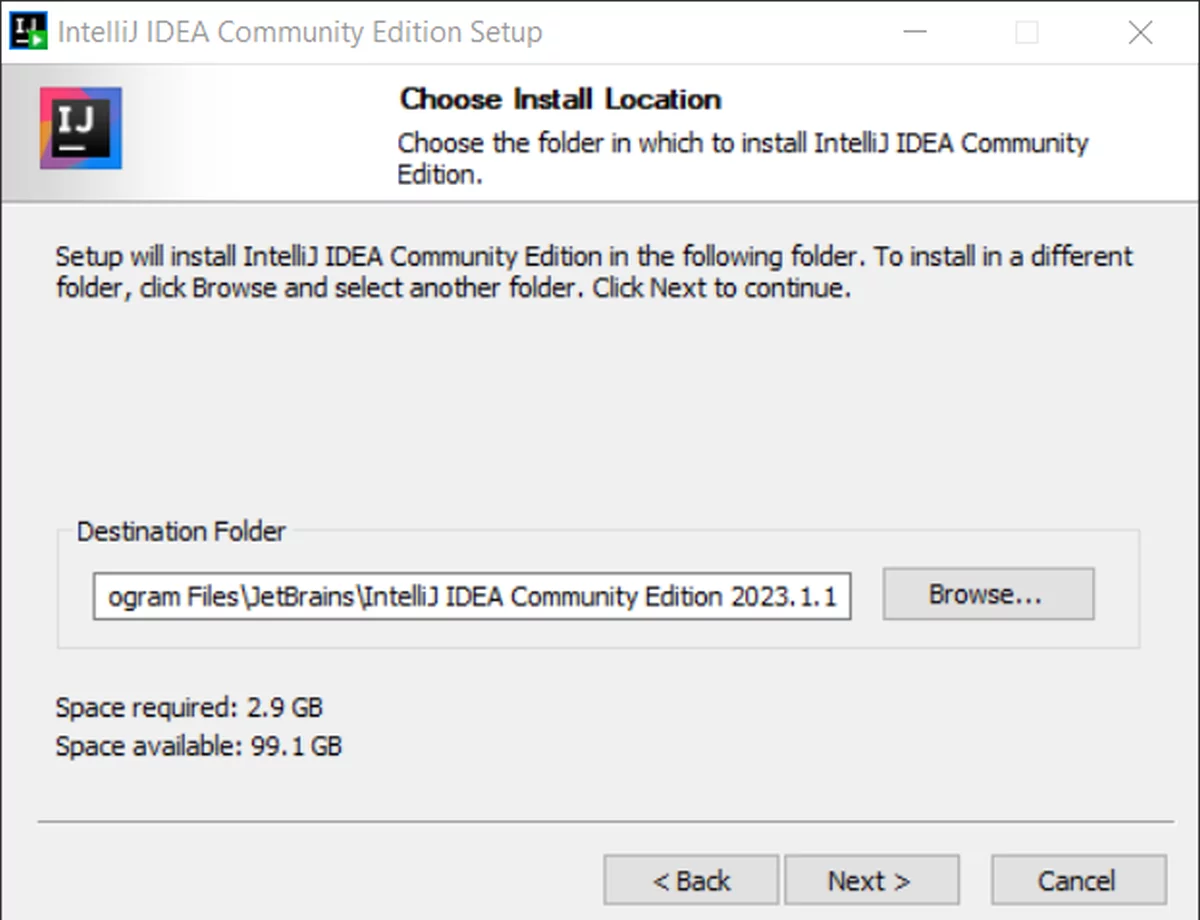
Step 5: In the following wizard window, the installer will ask you to select the folder where IntelliJ IDEA will be installed. The default folder is usually fine, but you can choose a different folder (depending on your preferences). Click Next.
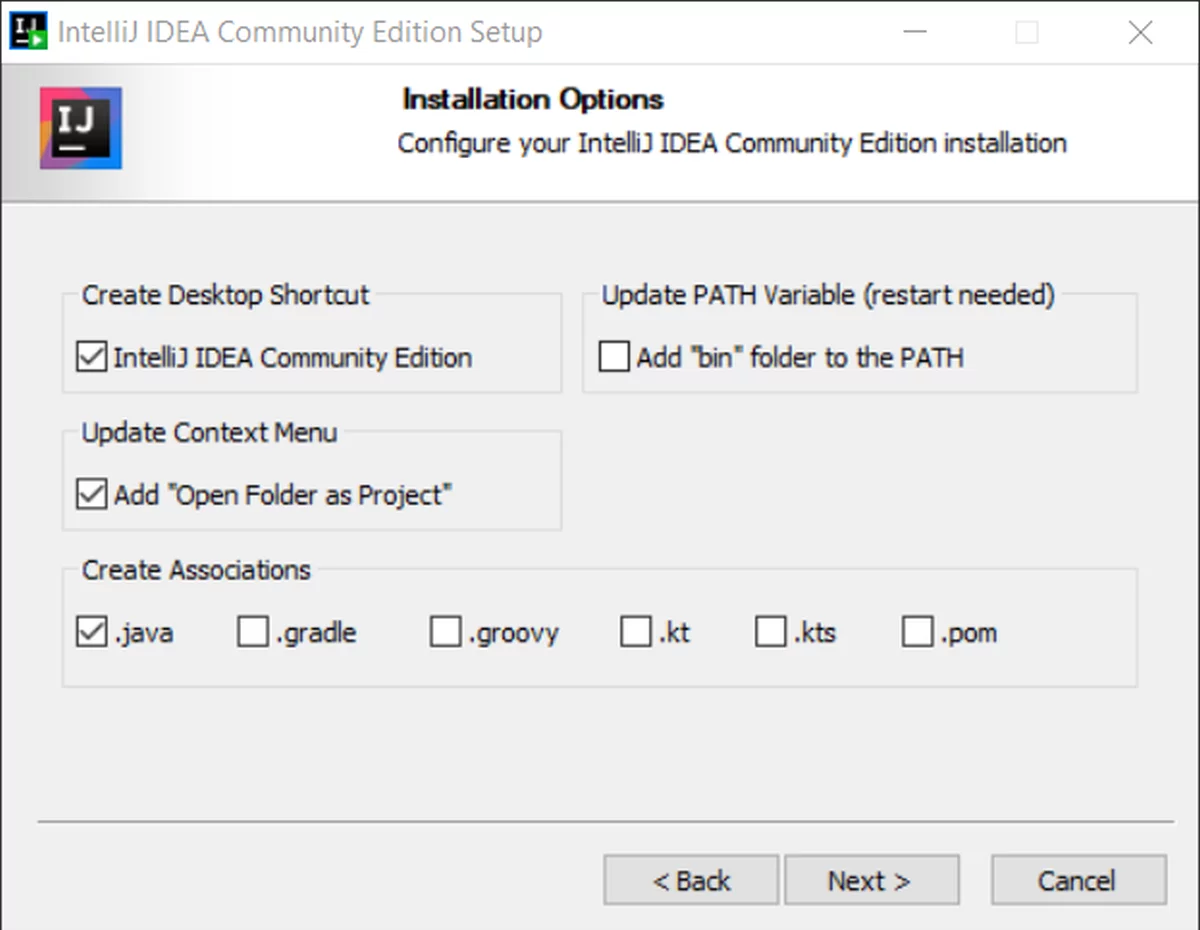
Step 6: The following screen offers several installation options. We choose to create a desktop shortcut, update the context menu, and associate the .java extension with IntelliJ IDEA. To continue, click Next and then Install on the next screen to start the installation process.
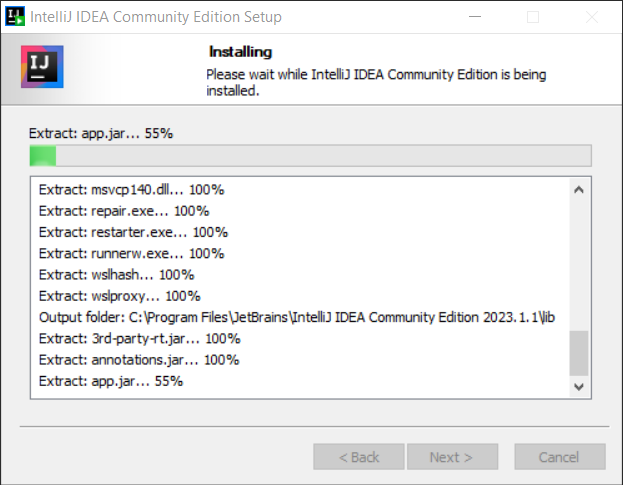
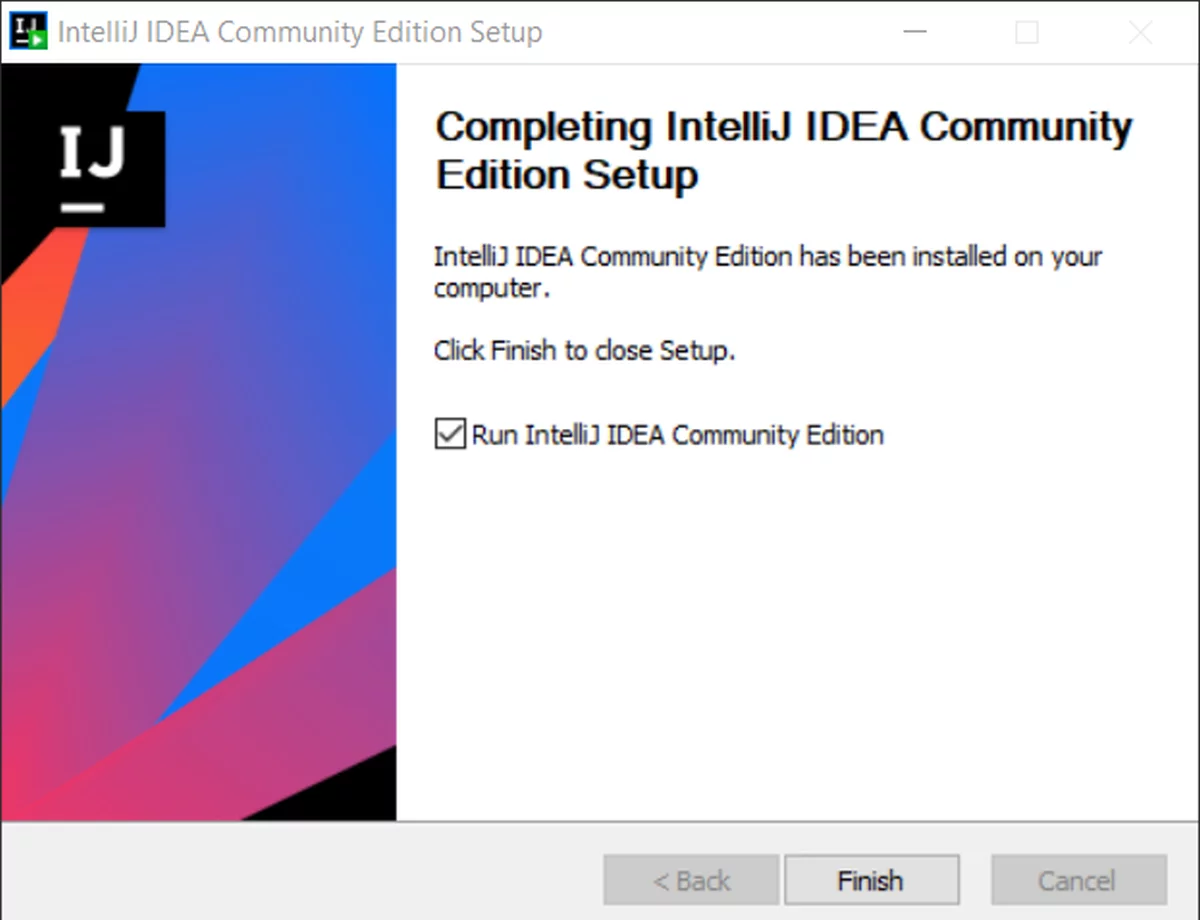
Step 7: When the installation is complete, you will be given the opportunity to tick the option to run IntelliJ IDEA. Press Finish to close the installer.
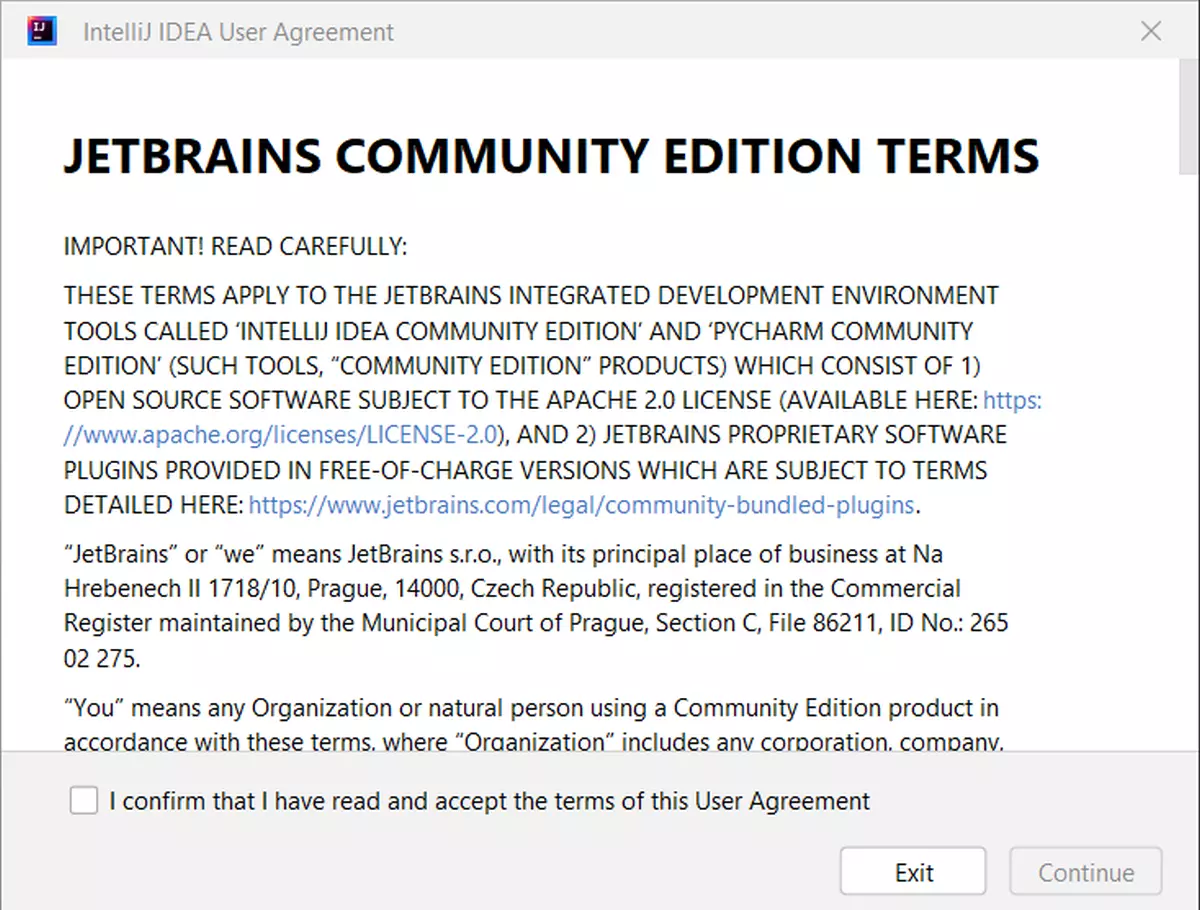
Step 8: Before running the software for the first time, a window will appear with the license terms that you must agree to in order to make the Continue button available. Accept the terms and conditions by checking the box and pressing this button, then you will be taken to IntelliJ IDEA.

Congratulations! You have successfully installed Java and IntelliJ IDEA on your Windows computer. You’re now ready to start coding in Java!

Related articles